Friday, August 27, 2010

Peanut Butter and Jelly Cookies


I don't know when my peanut butter obsession developed, but I know it has been alive and thriving for the last 3 years. In fact, there have been times when I was not allowed to keep the creamy/crunchy goodness in the pantry. It was just too tempting to dip a spoon in for a quick bite...8 times a day. There's nothing I don't love with peanut butter...whole wheat bread, a toasted tortilla with cinnamon, melted with chocolate and drizzled over popcorn, brownies, apples, pancakes, waffles, straight up from a spoon, spread on a saltine and of course, paired with jam-but have you ever wanted to cut straight to the good stuff? Cut out that pesky bread and sink your teeth into meat of it? Here we are:

If I had a jar on hand, I would have used it for the ease. Alas, I did not. Who would have thought those freezer burned strawberries would have gotten use? Boiled them down with some suga and lemon juice and ran it the ol' bullet. Yes, the Magic Bullet. Yes, it has lost its magic over the years.

Now, onto the peanut butter! Seriously, you'll need a full cup of it.
Add a cup of sugar. Then add an egg and a teaspoon of baking soda. The end.
Ok, not quite-but might as well be-it's so simple! Roll into balls, you choose the size.
Make a nice well to hug the jam. Kinda like you would with mashed potatoes and gravy. Except it's not Thanksgiving. And these aren't potatoes. And that's not gravy. Ahem, moving on.
Fill with jam. Bake at 350 for 10-12 minutes.
Eat warm.

Thursday, August 5, 2010

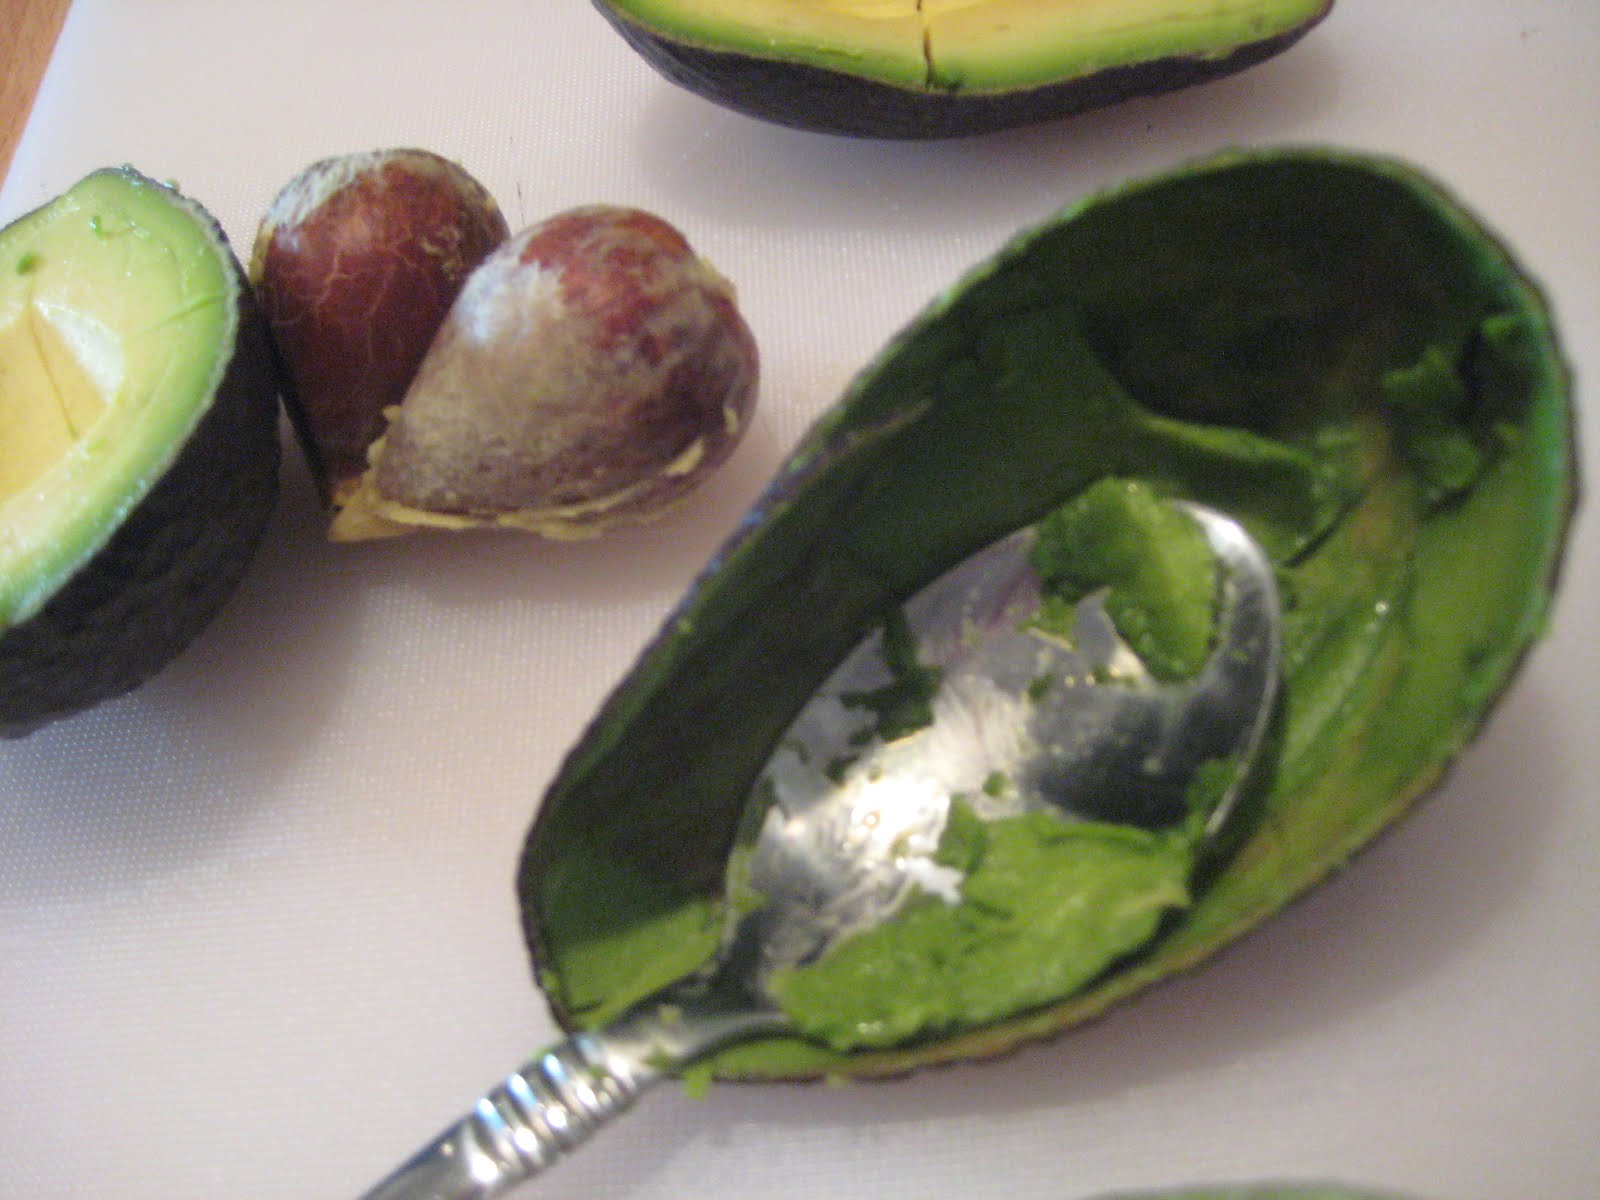
Avocado and Tomatillo Soup


When the weather is warm the last thing I want to do is turn on the oven, especially in our tiny, cramped kitchen. I don't particularly love cold soups but I do love the ease of taking fresh ingredients and simply blending (or in my case: magic bullet-ing) them. I've found the avocado adds the perfect creamy flavor while the tomatillo lends a sharper, bitter taste.

2 avocados
3/4 C milk (I used skim)
1 garlic clove
1/2 C chicken broth
2 tomatillos
Crushed red pepper
Salt and pepper to taste

Combine all ingredients and blend, refrigerate or
warm over stove-or try both! I prefer this one cold.

We had leftover chicken which I shredded on top, but it could be topped with anything: shrimp, tofu, crab! Mmm, crab. I also added a quick cheese quesadilla for dipping...Summer's grilled cheese and tomato soup equivalent.

Saturday, July 31, 2010

Nectarine Tart


James and I went to Ikea a couple of months ago. We were half way through its massive interior when the dreaded "Ikea will be closing in 15 minutes, please gather your last items and head to the register" came through the speakers. We kept our poise and wrote down the novel that is their bed parts (item #293475 isle #47 bin #242; item #23944 #92 bin #67; item #48698 isle #103 bin #87; item #8457 isle #8 bin #23, you get the point). We made our way through the store and then it came, the sweat inducing, pull your hair out, sprint through the store, song: "Goodnight sweetheart, it's time to go..." That's when I start making the rash decisions. In my flurry of throwing things we don't need/will never use into the cart, the tart pan made its way in. I'm so happy it did.

Tart crust:
1/2 cup ground almonds
1/2 cup ground walnuts
¾ cup whole wheat flour
1/2 cup butter, melted, or coconut oil
¼ cup sugar
¼ tsp salt
½ tsp vanilla extract

Combine and press into buttered and floured pie pan. Press fork into sides for a pretty pattern.
Bake at 325 F for 15 min. Cover edges with foil to prevent burning. Slice 3 nectarines-make another pretty pattern. I went for the exciting, circle pattern! Very original.

For a quick custard filling:
1/2 cup sugar
4 large egg yolks
2/3 cup milk (low fat is ok)
1 tsp cinnamon
Whisk together sugar and egg yolks. Slowly add milk and cinnamon. Pour filling over apricots.

Bake for 20-25 minutes. Cover edges in foil to prevent burning.

Then realize that it's not shiny enough and make a quick glaze:
1 tbsp rum
4 tbsp lemon preserves
1 tbsp butter
pinch of sugar
Combine in sauce pan over medium heat. Brush over tart. Sprinkle with powdered sugar.

Wednesday, July 21, 2010

Roasted Beets and Radishes with Goat Cheese

Beets used to be one food I despised when I was younger. I'm not even certain I ever tried one. I think the inky purple residue the pickled variety left behind turned me off.


The turning point is unknown, but now, I adore beets. Now I'm even branching out with different varieties! The orange beets are a little tamer in terms of bite factor. I figured the radishes would provide enough spice. These beets came from the Ballard farmer's market. Every time we go, I wonder why I ever buy produce at the grocery store, especially during the summer. The woman working the veggie stand was super helpful in explaining all the varieties. She also informed us that the leafy green tops of the beets were edible! Am I the only one who didn't know this?

The chard can be cut, washed and sauteed. A little garlic, olive oil and white wine will do wonders. The beets and radishes just need a quick wash and chop. Lay them on a cookie sheet, drizzle with olive oil and thyme.

Bake at 400 for 50 minutes. Slice, lay on top of the sauteed chard and sprinkle with goat cheese.

Their season runs from June to October, so go, buy your beets! Added bonus: they keep for 2-4 weeks.

Monday, July 19, 2010

Braided Bread

When I'm browsing through recipes, I often find myself ditching options that look too professional. Cakes with multiple layers, bagels that have to rise a dozen times and the dreaded, braided bread. I struggle enough trying to braid my own hair. Like always, Smitten gave me courage to conquer a "professional-looking" recipe.

It started with a sour cream dough that was divided into thirds and fringed at the ends.

Then it got filled with a cream cheese and lemon curd mixture. What is lemon curd? (I didn't know either.) Lemon juice/zest, sugar, butter and egg. If you're like me, you forget the key ingredients for most recipes and you'll have to sub in lemon jam.

The Braid. Why doesn't my hair ever look that pretty?

Let it do its magic in the oven.

Then put it in here. What is this, you ask?

It's the number one reason we rented this house. It's a pie cooler, of course. A little cupboard with a screened window to let the heat escape. Every house/apartment/condo/yacht should have one.

Beware of the braid. You will find yourself wanting to braid everything. It's so fun! So sophisticated! It's easy to pull apart! So versatile!

Savory filling?

Yes, please. (Spinach, Gruyere and ham.) Use your favorite pizza dough recipe for a savory bread base.

Sponge
6 tablespoons (3 ounces) warm water
1 teaspoon sugar
1 1/2 teaspoons instant yeast
1/4 cup (1 ounce) unbleached all-purpose flour

Dough
Sponge (above)
6 tablespoons (3 ounces) sour cream or yogurt
1/4 cup (4 tablespoons or 2 ounces) unsalted butter, softened
2 large eggs, 1 beaten for dough, 1 beaten with 1 teaspoon water for brushing bread
1/4 cup (1 3/4 ounces) sugar
1 teaspoon salt
1 teaspoon vanilla extract
2 1/2 cups (10 5/8 ounces) unbleached all-purpose flour
Pearl sugar* or sparkling white sugar for sprinkling

Lemon cream cheese filling
1/3 cup (2 1/2 ounces) cream cheese, softened
2 tablespoons (5/8 ounces) sugar
2 tablespoons (1 ounce) sour cream
1 teaspoon fresh lemon juice
2 tablespoons (1/2 ounce) unbleached all-purpose flour
1/4 cup (2 ounces) lemon curd

Make sponge: In a small bowl, combine the sponge ingredients. Stir well to combine, loosely cover with plastic wrap, and set aside to proof for 10 to 15 minutes.

Make dough by hand: Whisk together sour cream, butter, egg, sugar and vanilla in a large, wide bowl. Stir in sponge. Add the flour and mix with a wooden spoon as best as you can; you may need to get your hands in there to form it into a shaggy ball. Turn ball of dough and any incorporated scraps onto a counter and knead until a smooth, soft dough forms, about 5 to 10 minutes. Place the kneaded dough in a lightly greased bowl, cover with plastic wrap, and allow to rise for 60 to 90 minutes, until quite puffy and nearly doubled.

Make the filling (while dough rises): Combine all the filling ingredients (except the lemon curd) in a small bowl, mixing until smooth and lump-free. Reserve the filling and lemon curd until ready to fill the braids.

Prepare bread: Gently deflate the dough and roll it out on a very well floured counter to a 10″ x 15″ rectangle. Transfer rectangle to a large piece of parchment paper, please; I did not and it led to all sorts of trouble. With the side of your hand, lightly press two lines down the dough lengthwise, dividing it into three equal columns. Spread the cream cheese filling down the center section, leaving the top and bottom two inches free of filling. Spread the lemon curd over the cream cheese filling.

To form the mock braid, cut crosswise strips one inch apart down the length of the outer columns of you dough (the parts without filling). Make sure you have an equal amount of 1-inch strips down the right and left sides. Be careful not to cut your parchment paper; if you have a bench scraper, this is a great time to use it. Remove the four corner segments. To “braid”, begin by folding top flap down and bottom flap up over the filling. Lift the top dough strip and gently bring it diagonally across the filling. Repeat on the right side, and continue down the entire braid, alternating strips until you are out. You can tuck the last couple that hand off decoratively under the end of the braid.

Carefully transfer the dough and the parchment paper to a baking sheet. Cover loosely with plastic and set it aside to rise for 45 to 50 minutes, until quite puffy.

Tuesday, June 22, 2010

Croque Monsieur

A couple of weeks ago, I managed to talk James into watching a chick-flick. Usually that requires some sort of compromise...like watching a D grade horror flick. Fortunately, we both thought "It's Complicated" was pretty decent. After promising to make croque monsieur (thanks Meryl Streep!) I think it's safe to say I won't be watching "Chainsaw Massacre." This seriously rich meal won't cut it for a weekly regular, but when you've earned an indulgence, this is it.

The two most important ingredients: Gruyere and ham.

Key to a balanced diet: cheese, cured meat, cheese, bread and most importantly, cheese.

Add a salad, it will make your mom happy.

Adapted from Ina Garten:

Ingredients
(quarter recipe for 2 servings)
  • 2 tablespoons unsalted butter
  • 3 tablespoons all-purpose flour
  • 2 cups hot milk
  • 1 teaspoon kosher salt
  • 1/2 teaspoon freshly ground black pepper
  • Pinch nutmeg
  • 12 ounces Gruyere, grated (5 cups)
  • 1/2 cup freshly grated Parmesan
  • 16 slices white sandwich bread, crusts removed
  • Dijon mustard
  • 8 ounces baked Virginia ham, sliced but not paper thin

Directions

Preheat the oven to 400 degrees F.

Melt the butter over low heat in a small saucepan and add the flour all at once, stirring with a wooden spoon for 2 minutes. Slowly pour the hot milk into the butter–flour mixture and cook, whisking constantly, until the sauce is thickened. Off the heat add the salt, pepper, nutmeg, 1/2 cup grated Gruyere, and the Parmesan and set aside.

To toast the bread, place the slices on 2 baking sheets and bake for 5 minutes. Turn each slice and bake for another 2 minutes, until toasted.

Lightly brush half the toasted breads with mustard, add a slice of ham to each, and sprinkle with half the remaining Gruyere. Top with another piece of toasted bread. Slather the tops with the cheese sauce, sprinkle with the remaining Gruyere, and bake the sandwiches for 5 minutes. Turn on the broiler and broil for 3 to 5 minutes, or until the topping is bubbly and lightly browned. Serve hot.

Tuesday, June 8, 2010

English Muffins

I've always been fascinated by recreating certain dishes or items I would usually buy from the grocery store or order from a restaurant. It usually comes in the form of a baked good. Every weekend, without a doubt, there's one morning that I'll toast an English muffin and top it with an over-easy egg. Even though it's not a gourmet breakfast, it takes a little more effort than the usual, Monday morning cereal. To make it feel a bit more like a luxurious Saturday morning breakfast, I decided to take a stab at English muffins.

Like any other worth while bread, it starts with a lot of waiting for the dough to rise and deflate.

Next, the dough is separated into the individual muffins, rolled in corn meal and left to rise again.

The most important step: brown in a pan until golden brown and admire.

Pop in the oven for 5-8 minutes and prepare your egg.

Recipe from Peter Reinhart’s The Bread Baker’s Apprentice. Located via Pete.

2 1/4 cups flour
1/2 Tbsp sugar
1/4 tsp salt
1 1/4 tsp instant yeast
1 Tbsp shortening or butter (at room temperature)
3/4 – 1 cup milk (at room temperature)
cornmeal for sprinkling

1. in a large bowl, stir together the flour, sugar, salt and yeast. mix in the shortening and 3/4 cup of the milk. add the remaining milk if the dough is too dry.

2. transfer the dough to a floured surface and knead for about 10 minutes. place in a lightly oiled bowl and roll to coat. cover the bowl with plastic wrap and let rise for about an hour. divide the dough into 6 equal pieces and shape into balls. lay parchment paper on a baking sheet and spray or lightly coat with oil and sprinkle with cornmeal. move the dough balls to the baking sheet evenly spaced apart (giving them room to rise more). cover the pan loosely with plastic wrap and allow them to rise for another hour.

*I added a 1/4C flax seed to mine which gave it more of a nutty flavor. Next up: cinnamon and raisins.

3. heat the oven to 350 F and heat up a skillet on medium heat on the stove top. brush the skillet with oil and gently transfer the dough balls to the skillet a few at a time. allow them to cook on the skillet for 5-8 minutes, until the bottoms are nicely browned. carefully flip and cook the other side for about 5-8 minutes more. they should flatten as they cook.

4. when the muffins look as if they are about to burn, remove them from the skillet with a spatula and transfer quickly to a baking sheet. bake at 350 for 5-8 minutes. do not wait until all of the muffins have been cooked on the skillet before moving them to the oven – as the first batch is baking, move the second batch of muffins to the skillet.

5. transfer the baked muffins to a cooling rack and let cool for at least 30 minutes before slicing or serving. serve with lots of butter and jelly. store them as you would muffins you buy in the store – in a sealed ziploc bag in the fridge or freezer.

I added flax to these but I'll definitely be throwing in some raisins and cinnamon to the next batch.